PHOTO GALLERY
[FOTO] Avellino – Monterosi, la gallery
Gli scatti della rimonta vincente al Partenio-Lombardi
![](https://www.sportavellino.it/wp-content/uploads/2023/10/41-1-780x470.jpg)
![](https://www.sportavellino.it/wp-content/uploads/2023/10/40-1-780x470.jpg)
![](https://www.sportavellino.it/wp-content/uploads/2023/10/39-1-780x470.jpg)
![](https://www.sportavellino.it/wp-content/uploads/2023/10/38-1-780x470.jpg)
![](https://www.sportavellino.it/wp-content/uploads/2023/10/37-1-780x470.jpg)
![](https://www.sportavellino.it/wp-content/uploads/2023/10/36-1-780x470.jpg)
![](https://www.sportavellino.it/wp-content/uploads/2023/10/35-1-780x470.jpg)
![](https://www.sportavellino.it/wp-content/uploads/2023/10/34-2-780x470.jpg)
![](https://www.sportavellino.it/wp-content/uploads/2023/10/33-2-780x470.jpg)
![](https://www.sportavellino.it/wp-content/uploads/2023/10/32-2-780x470.jpg)
![](https://www.sportavellino.it/wp-content/uploads/2023/10/31-2-780x470.jpg)
![](https://www.sportavellino.it/wp-content/uploads/2023/10/30-2-780x470.jpg)
![](https://www.sportavellino.it/wp-content/uploads/2023/10/29-2-780x470.jpg)
![](https://www.sportavellino.it/wp-content/uploads/2023/10/28-2-780x470.jpg)
![](https://www.sportavellino.it/wp-content/uploads/2023/10/27bis-780x470.jpg)
![](https://www.sportavellino.it/wp-content/uploads/2023/10/27-2-780x470.jpg)
![](https://www.sportavellino.it/wp-content/uploads/2023/10/26-2-780x470.jpg)
![](https://www.sportavellino.it/wp-content/uploads/2023/10/25-2-780x470.jpg)
![](https://www.sportavellino.it/wp-content/uploads/2023/10/24-2-780x470.jpg)
![](https://www.sportavellino.it/wp-content/uploads/2023/10/23-2-780x470.jpg)
![](https://www.sportavellino.it/wp-content/uploads/2023/10/22-2-780x470.jpg)
![](https://www.sportavellino.it/wp-content/uploads/2023/10/21-2-780x470.jpg)
![](https://www.sportavellino.it/wp-content/uploads/2023/10/20-2-780x470.jpg)
![](https://www.sportavellino.it/wp-content/uploads/2023/10/19-2-780x470.jpg)
![](https://www.sportavellino.it/wp-content/uploads/2023/10/18-2-780x470.jpg)
![](https://www.sportavellino.it/wp-content/uploads/2023/10/17-2-780x470.jpg)
![](https://www.sportavellino.it/wp-content/uploads/2023/10/16-2-780x470.jpg)
![](https://www.sportavellino.it/wp-content/uploads/2023/10/15-2-780x470.jpg)
![](https://www.sportavellino.it/wp-content/uploads/2023/10/14-2-780x470.jpg)
![](https://www.sportavellino.it/wp-content/uploads/2023/10/13-2-780x470.jpg)
![](https://www.sportavellino.it/wp-content/uploads/2023/10/12-2-780x470.jpg)
![](https://www.sportavellino.it/wp-content/uploads/2023/10/11-1-780x470.jpg)
![](https://www.sportavellino.it/wp-content/uploads/2023/10/10-3-780x470.jpg)
![](https://www.sportavellino.it/wp-content/uploads/2023/10/9-3-780x470.jpg)
![](https://www.sportavellino.it/wp-content/uploads/2023/10/8-3-780x470.jpg)
![](https://www.sportavellino.it/wp-content/uploads/2023/10/7-3-780x470.jpg)
![](https://www.sportavellino.it/wp-content/uploads/2023/10/6-3-780x470.jpg)
![](https://www.sportavellino.it/wp-content/uploads/2023/10/4-3-780x470.jpg)
![](https://www.sportavellino.it/wp-content/uploads/2023/10/3-3-780x470.jpg)
![](https://www.sportavellino.it/wp-content/uploads/2023/10/2-3-780x470.jpg)
![](https://www.sportavellino.it/wp-content/uploads/2023/10/1-3-780x470.jpg)
![](https://www.sportavellino.it/wp-content/uploads/2023/10/42-1-780x470.jpg)
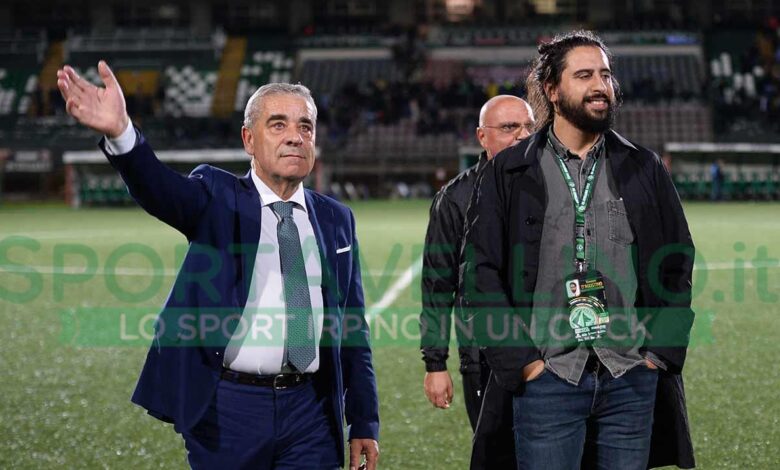
Il foto servizio sulla vittoria contro i laziali a cura di Franco Luciano nostro inviato a bordocampo.