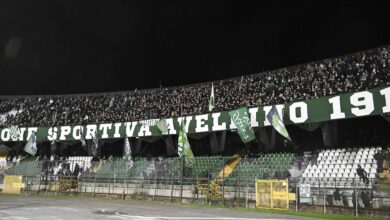
PHOTO GALLERYUS AVELLINO
[FOTO] Latina – Avellino, la gallery della “manita” biancoverde
Il racconto della goleada contro i pontini
![](https://www.sportavellino.it/wp-content/uploads/2024/01/44-780x470.jpg)
![](https://www.sportavellino.it/wp-content/uploads/2024/01/43-780x470.jpg)
![](https://www.sportavellino.it/wp-content/uploads/2024/01/41-780x470.jpg)
![](https://www.sportavellino.it/wp-content/uploads/2024/01/42-780x470.jpg)
![](https://www.sportavellino.it/wp-content/uploads/2024/01/40-780x470.jpg)
![](https://www.sportavellino.it/wp-content/uploads/2024/01/39-780x470.jpg)
![](https://www.sportavellino.it/wp-content/uploads/2024/01/38-scaled-e1704990862780-780x470.jpg)
![](https://www.sportavellino.it/wp-content/uploads/2024/01/37-780x470.jpg)
![](https://www.sportavellino.it/wp-content/uploads/2024/01/36-e1705156382507-780x470.jpg)
![](https://www.sportavellino.it/wp-content/uploads/2024/01/27-780x470.jpg)
![](https://www.sportavellino.it/wp-content/uploads/2024/01/29-780x470.jpg)
![](https://www.sportavellino.it/wp-content/uploads/2024/01/28-780x470.jpg)
![](https://www.sportavellino.it/wp-content/uploads/2024/01/45-780x470.jpg)
![](https://www.sportavellino.it/wp-content/uploads/2024/01/31-780x470.jpg)
![](https://www.sportavellino.it/wp-content/uploads/2024/01/32-780x470.jpg)
![](https://www.sportavellino.it/wp-content/uploads/2024/01/33-780x470.jpg)
![](https://www.sportavellino.it/wp-content/uploads/2024/01/34-780x470.jpg)
![](https://www.sportavellino.it/wp-content/uploads/2024/01/35-780x470.jpg)
![](https://www.sportavellino.it/wp-content/uploads/2024/01/26-780x470.jpg)
![](https://www.sportavellino.it/wp-content/uploads/2024/01/24-780x470.jpg)
![](https://www.sportavellino.it/wp-content/uploads/2024/01/25-780x470.jpg)
![](https://www.sportavellino.it/wp-content/uploads/2024/01/23-780x470.jpg)
![](https://www.sportavellino.it/wp-content/uploads/2024/01/21-780x470.jpg)
![](https://www.sportavellino.it/wp-content/uploads/2024/01/22-780x470.jpg)
![](https://www.sportavellino.it/wp-content/uploads/2024/01/20-780x470.jpg)
![](https://www.sportavellino.it/wp-content/uploads/2024/01/19-e1704885358834-780x470.jpg)
![](https://www.sportavellino.it/wp-content/uploads/2024/01/18-780x470.jpg)
![](https://www.sportavellino.it/wp-content/uploads/2024/01/8-780x470.jpg)
![](https://www.sportavellino.it/wp-content/uploads/2024/01/10-780x470.jpg)
![](https://www.sportavellino.it/wp-content/uploads/2024/01/11-780x470.jpg)
![](https://www.sportavellino.it/wp-content/uploads/2024/01/12-780x470.jpg)
![](https://www.sportavellino.it/wp-content/uploads/2024/01/13-780x470.jpg)
![](https://www.sportavellino.it/wp-content/uploads/2024/01/14-780x470.jpg)
![](https://www.sportavellino.it/wp-content/uploads/2024/01/30-780x470.jpg)
![](https://www.sportavellino.it/wp-content/uploads/2024/01/16-780x470.jpg)
![](https://www.sportavellino.it/wp-content/uploads/2024/01/17-780x470.jpg)
![](https://www.sportavellino.it/wp-content/uploads/2024/01/9-780x470.jpg)
![](https://www.sportavellino.it/wp-content/uploads/2024/01/7-780x470.jpg)
![](https://www.sportavellino.it/wp-content/uploads/2024/01/6-780x470.jpg)
![](https://www.sportavellino.it/wp-content/uploads/2024/01/5-780x470.jpg)
![](https://www.sportavellino.it/wp-content/uploads/2024/01/4-780x470.jpg)
![](https://www.sportavellino.it/wp-content/uploads/2024/01/3-780x470.jpg)
![](https://www.sportavellino.it/wp-content/uploads/2024/01/2-780x470.jpg)
![](https://www.sportavellino.it/wp-content/uploads/2024/01/1-780x470.jpg)
![](https://www.sportavellino.it/wp-content/uploads/2024/01/15-780x470.jpg)
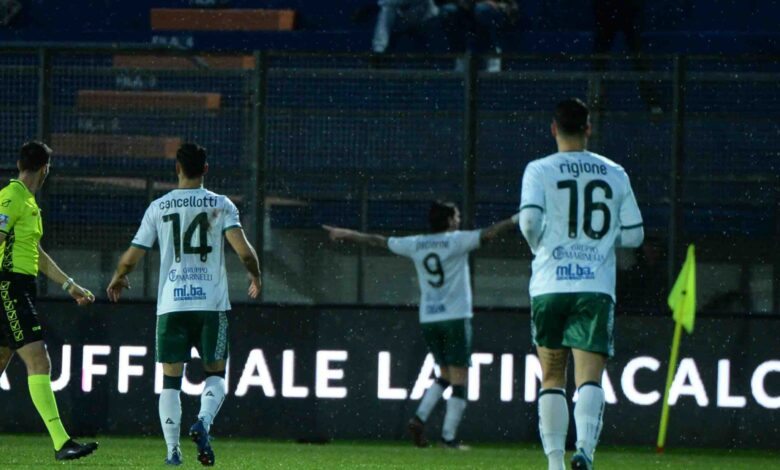
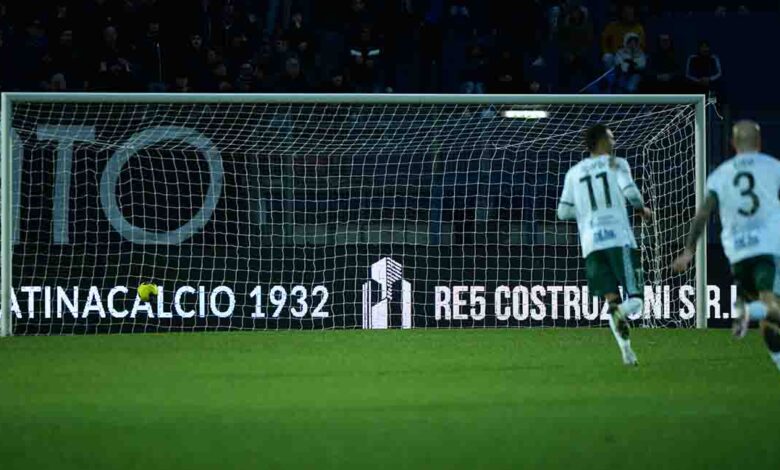
Le immagini a cura del nostro inviato Franco Luciano sulla sfida giocata al Francioni.
Iscriviti al nostro canale YouTube per rimanere sempre aggiornato!